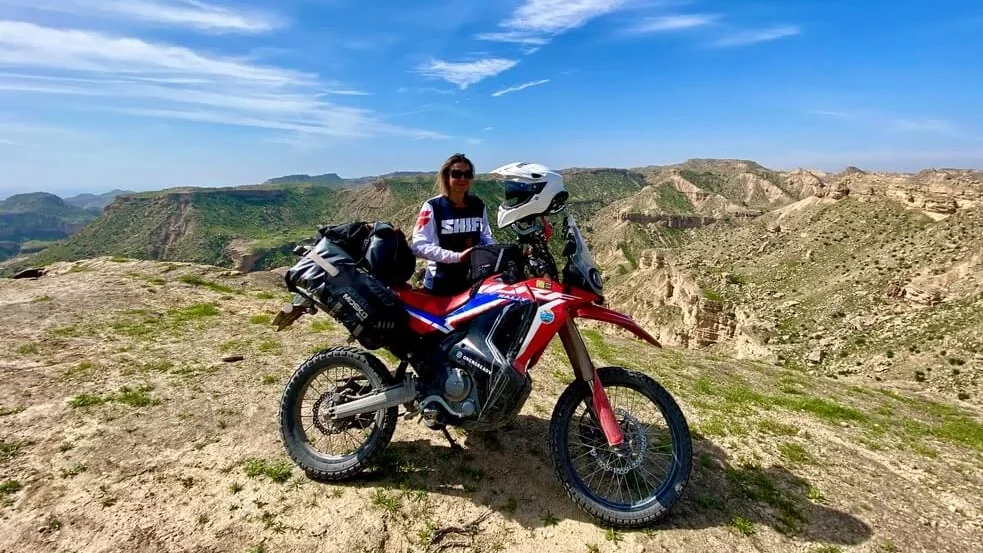
How did I mount the Mosko Moto Reckless 80L soft panniers on 2021 Honda CRF300 Rally? Learn why I chose this luggage system, what elements I strengthened after the first tests and how the whole thing withstood 23,000 kilometers of the Baltic-Himalayas route including a fall from 20 meters in the Hindu Kush mountains.
Finding solutions
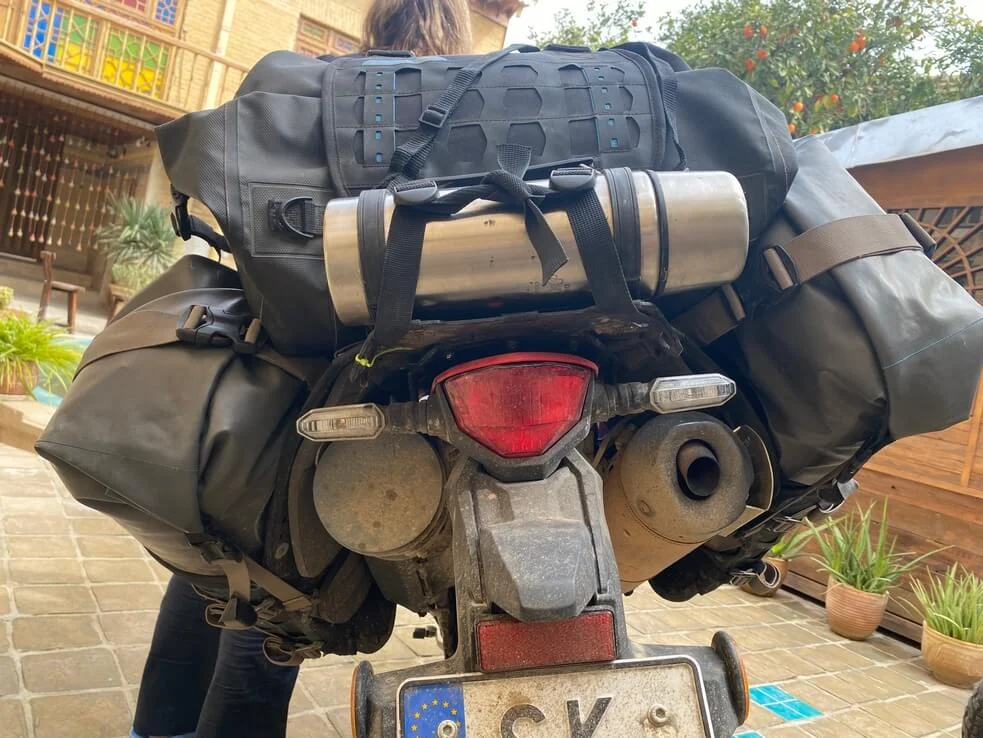
It seemed very simple – choose an U-bag and put it on the motorcycle. After all, this type of panniers does not require any special racks or mounting aids. There are several major, trustworthy Polish producers to choose from and a few foreign proposals. I chose (and convinced Hanna) Mosko Moto Reckless 80L. The possibility of adjusting the angle of the luggage tipped the scales. Seemingly nothing, but to be honest, it was important for me to follow the lines of the motorcycle design. Luggage strongly affects the aesthetics, and I really wanted it to form one whole with the beautiful CRF.
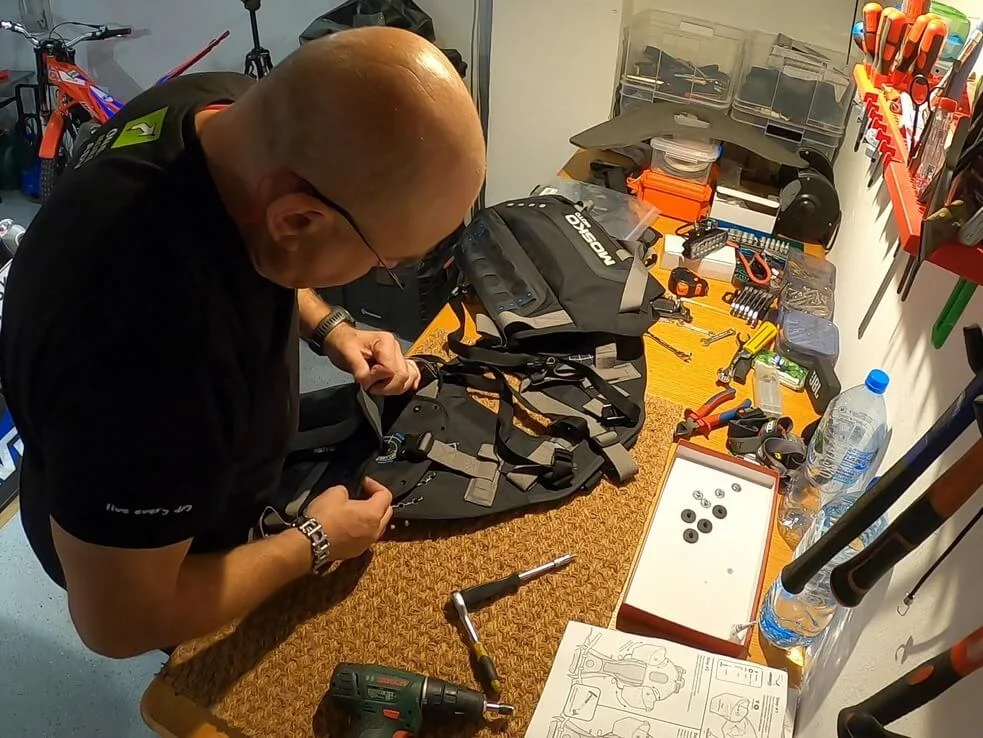
Mosko Moto Reckless 80L has a fairly rigid structure that fits well on the motorcycle. It has three mounting straps on the back and one on each side on the front. While I was trying on the U-bag on Hanna CRF300 Rally I saw two problems. The whole thing was moved too far to the front and there were no good mounting points. At the back, the rack that was mounted (we bought the motorcycle with it) was too short and had only two holes through which I could thread the straps. Moreover, the holes were slanted, which was unacceptable. I started to search the web for other solution, but there was nothing dedicated to Honda CRF 300 Rally available in a reasonable time. We waited for panniers for quite a long time and there was really little time to the big date.
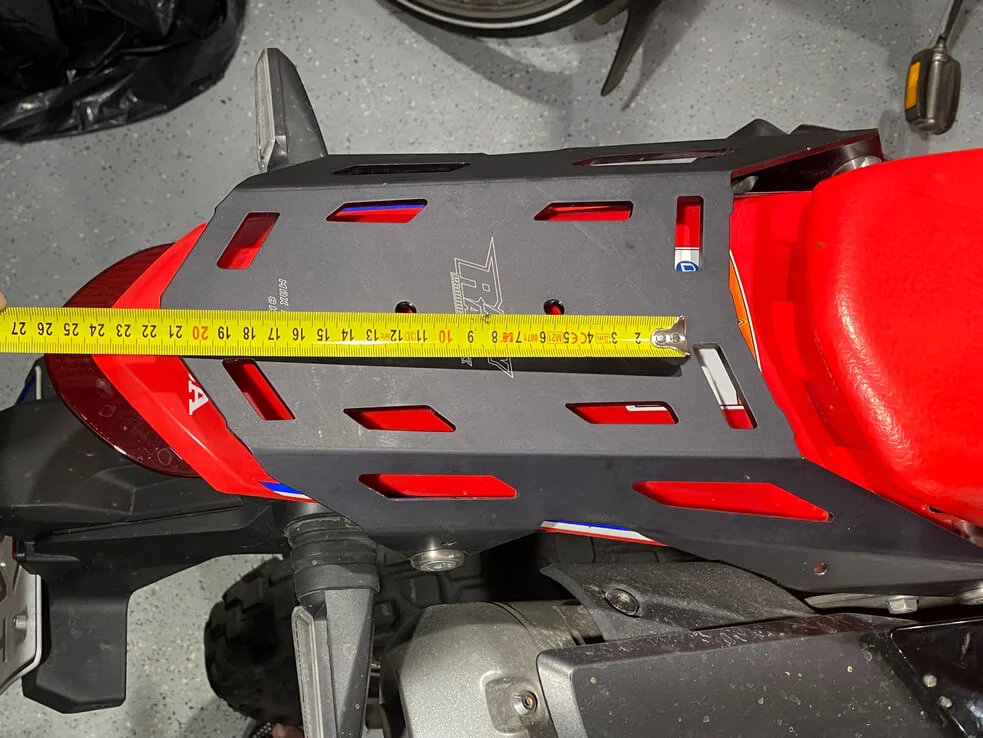
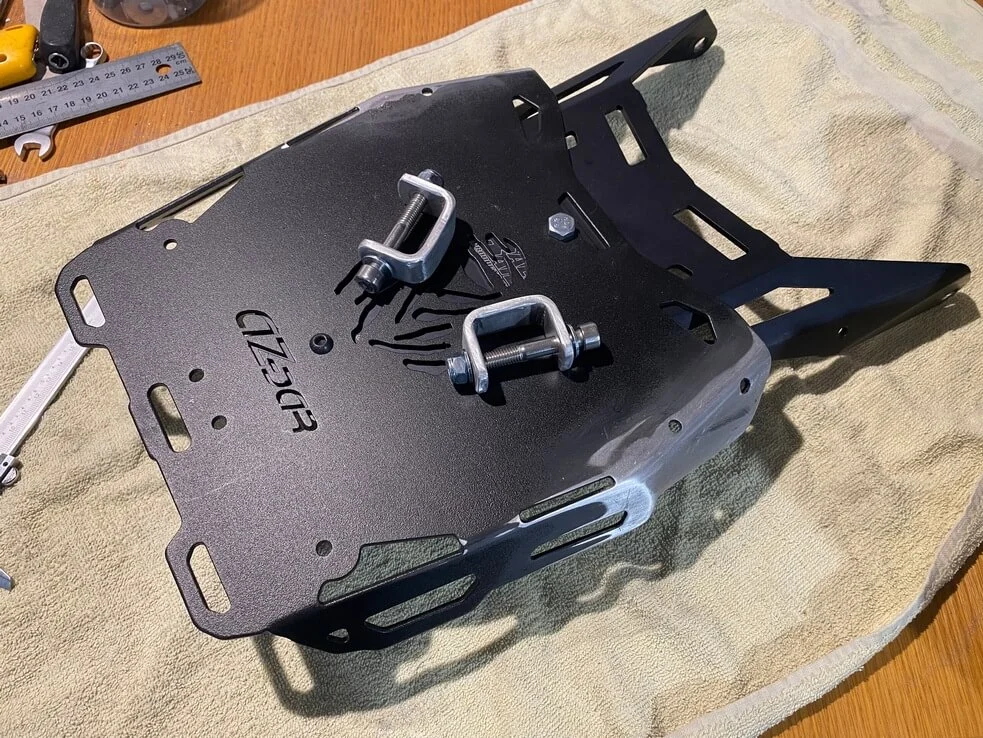
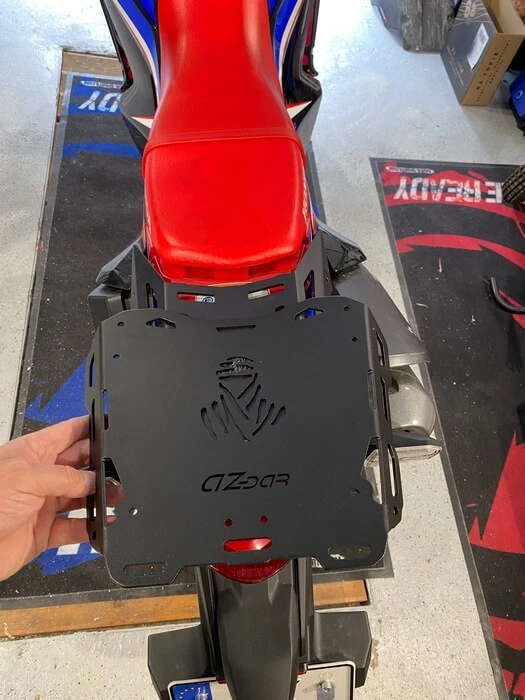
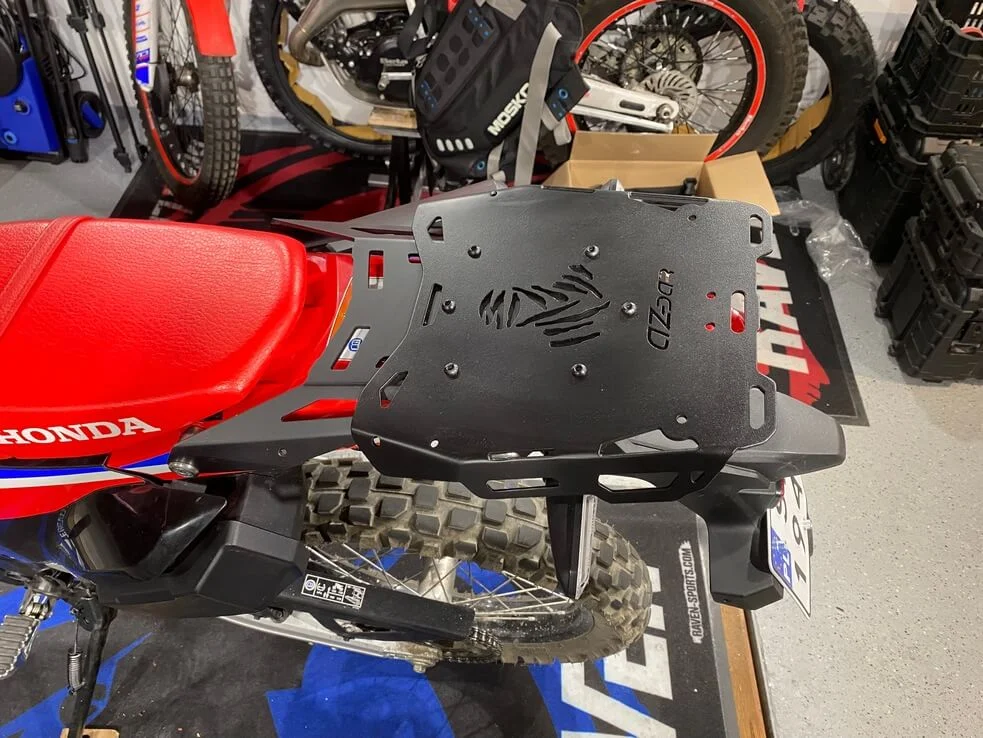
I changed the strategy and decided to adjust something that is available immediately, and if there is nothing sensible, I was ready to make the necessary overlay myself. I found an advertisement from Az-Dar, I called and told them what I needed and … the next day the plate waited for me in the parcel locker. I am linking Az-Dar.pl because there are some interesting offers and maybe you will take advantage of the offer like us. The plate I got was universal one fitting to many motorcycle models. The owner is a motorcyclist and knows his stuff.
Mounting
With the plate I already had the necessary three holes for the straps and I could move the whole set to the back. After fitting it turned out that I should correct the front corners of the plate, because after a long ride (and we have it ahead of us) there is a risk of chafing the harness. With grinder, vise and TIG the necessary adjustment was made. It came out quite neat and had the appropriate stiffness.
It also took me a while to look for a solution for fixing the front straps. Here, the vast majority of U-bag users thread the straps through the frame. For me, this is not a good solution, because the straps are in contact with the shoes when you ride in a standing position. After talking to Hanna, we decided to dismantle the passenger footrests and fix them in this place. We did not plan to carry passengers, and if we had to ride together in an emergency, we would manage without it.
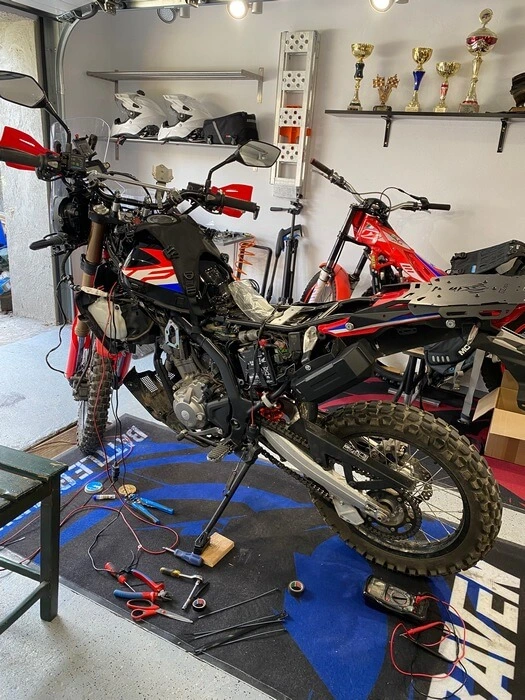
The plastic cover on the left side was bending disturbingly, so I made a small reinforcement under it and with the luggage prepared in this way, we set out for tests towards the Baltic Sea. Visiting friends we hadn’t seen for a long time, we made a 1500 km loop. There were streams, mud, sand and a couple of test fall downs. Of course, not intended, but definitely serving as test tasks.
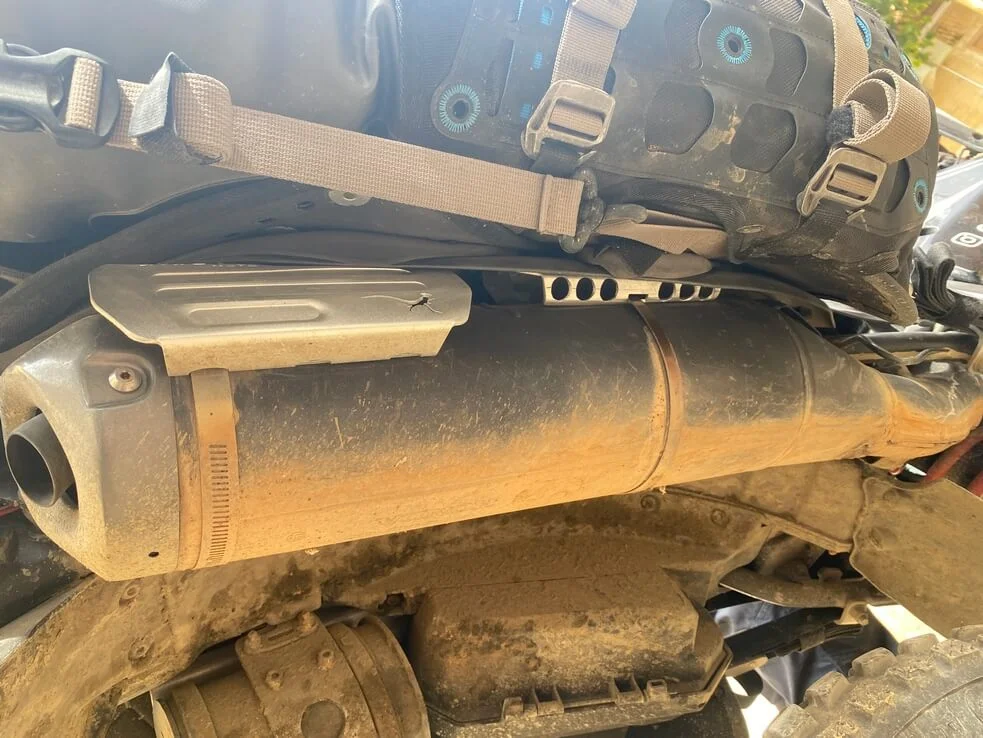
Upon my return, I found two problems. Foam scorching from the exhaust on the right side (it was really hot) and a toolbox moving loosely on the left side under the luggage.
Solving problems
Solving the exhaust problem was easy, because I installed one more aluminum spacer under the factory cover, and drilled holes in the first spacer to improve air circulation. Probably this problem appeared for other users too, because I saw new insulators with holes on the Mosko Moto website.
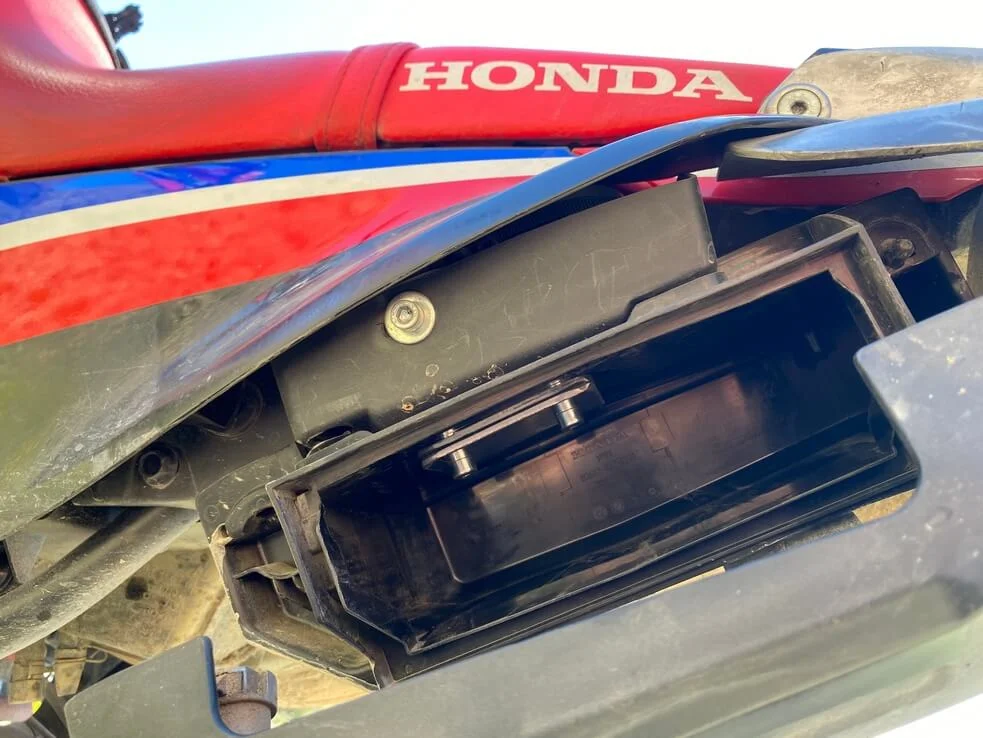
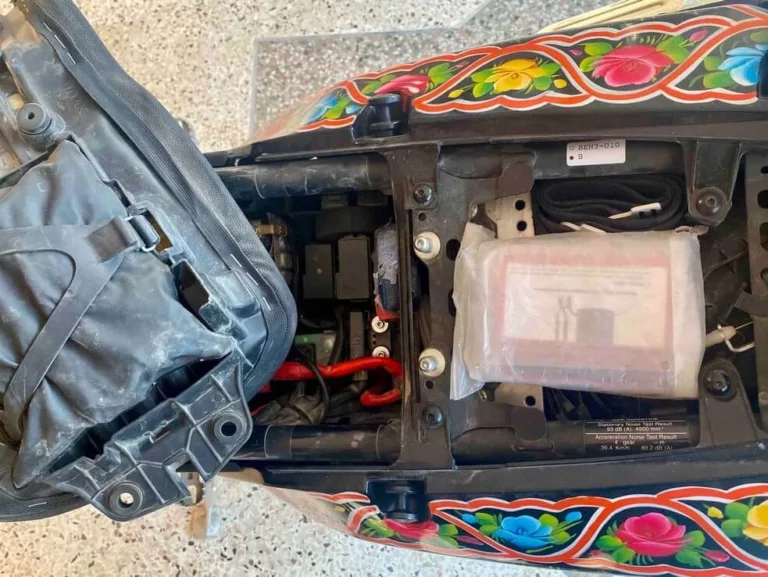
When I moved on to the left side, I couldn’t believe my eyes – the entire toolbox was held on tiny screws that had been ripped out of the sockets. It’s a miracle we didn’t lose it. In general, the left side barely handled the load of luggage on dirt roads. My reinforcement was also slightly bent. I decided to spread the forces over a larger surface and screw the toolbox properly. I prepared a “sandwich” of aluminum to mount the box – two plates with drilled holes, between which I grabbed the plastic of the tool box and the main plastic.
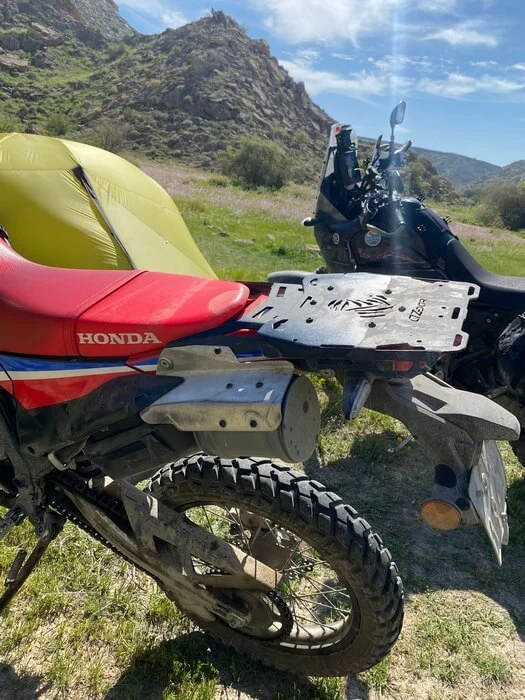
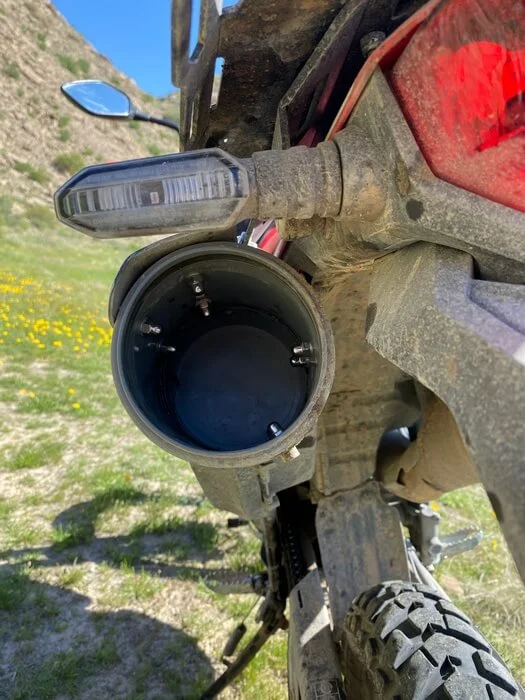
There was tempting, empty place at the back left side of the motorcycle. I tried to fit in a canister or a small box, but I couldn’t find anything sensible. The space was for something oval and the available items were angular. Oval, oval. Pipes are oval… round actually. And there are fittings and plugs in the sewer pipe shop which make up a first-class watertight container! I made the mounting from the bottom, by bending an aluminum flat bar and screwed it to the place the helmet lock was originally. We don’t use it, so we dismantled it with no regrets. The upper mount is an aluminum sheet bolted to the rack and container, which I profiled in such a way that it became support for the Rackless harness. The whole thing works great both as a stiffener for luggage and an additional, easily accessible container.
Why so much trouble, after all, you can put on racks that will protect the sides? Yes, you can. There are 3 main reasons why I don’t like it:
- I believe that every centimeter matters. The wider the bike, the harder it is to manage weight off-road.
- In case of more dynamic fall, the forces are distributed over a larger area, not only to the mounting points of the racks.
- The motorcycle still looks beautiful after dismantling the luggage
Summary
Finally, conclusions – after driving 23,000 kilometers, mostly off-road, sometimes really hard, demanding roads. Nothing, absolutely nothing happens, the luggage is stable and there is not even a trace of abrasions that would indicate that it is bouncing -it is not. It is a bit inconvenient in our case to use bags, but this is not a mounting problem, but the specificity of our trip. Luggage requires a broader description, but more on that another time.
In an extreme test, when the bike was dropped from about 20m, the structure and Mosko Reckless suffered a little. But honestly, these are minor issues. In Mosko, the strap of the front fastening on the left side was torn apart. The back rack with the support plate has been bent and bears traces of rocks. There are also deep scratches on the tool case. However, everything remained in its place and after pulling out the motorcycle, it was possible to continue riding.
I tried to point out weak points based on our experience and I am recommending such reinforcement as proven in difficult conditions. This work was done in my garage, but maybe someone will start small batch production and start delivering this buff. It’s not hard to do, and I’ll be happy if more people use my idea.
Since the motorcycle fell 20 meters down, you’re probably wondering what about Hanna? It’s OK, she fell 20 meters down too. Quick. She had her camera on during the flight, so soon there will be a video of this worthy trip to Death Tunnel Road on our youtube channel. It is said to be the most dangerous road in Pakistan, so stay tunned!
Gallery
Click on the photo to see details.







which width setting did you use on reckless 80? just got mine and been wondering which one to choose. if 1 or wider.
Heyka Lukas!. I set 4 and side straps fit well. Remember that we use this setting for a rider without pillion.